In the world of celebratory baking, presentation is often just as important as taste. While towering tiers and intricate piping have their place, few decorating elements can transform a simple cake into a stunning, show-stopping centerpiece quite like edible glitter. This tiny, shimmering ingredient brings an immediate sense of magic, luxury, and fun, elevating any dessert from ordinary to extraordinary.
However, working with edible glitter—especially to achieve a truly flawless, professional finish—requires more finesse than simply sprinkling it on top. This guide delves into the art of using edible glitter to ensure your next cake is not just delicious, but visually superb, covering the best types of glitter, essential application techniques, and creative ways to incorporate sparkle without overwhelming the design.
Understanding Your Sparkle: Types of Edible Glitter
Not all that glitters is safe to eat. The biggest mistake a baker can make is using craft glitter, which is made of plastic and is not food-safe. It is crucial to source certified edible products, which typically fall into two categories:
1. Edible Glitter (The Dazzle)
- Composition: Made primarily from gum arabic, maltodextrin, sugar, or a thin film of food-grade coloring agents. These are FDA-approved, tasteless, and dissolve easily.
- Best Use: Provides a broad, overall sparkle, perfect for dusting large surfaces, mixing into sprinkle blends, or creating a subtle shimmer on buttercream.
2. Edible Dusts (The Pigment)
- Luster Dust: Provides a high-shine, pearlescent finish. It offers color and reflectivity without the visible granularity of glitter.
- Petal Dust: Primarily used to add deep, matte color to fondant and gum paste flowers.
- Disco Dust: While stunning and very reflective, be cautious—many products labeled “disco dust” are non-toxic but not legally considered food-safe or edible (meaning they are meant for decoration only and should be removed before eating). Always check the label for “FDA approved food grade” or “edible.”
For a truly superb and safe cake, stick to certified edible glitters and luster dusts.
The Art of Application: Achieving a Flawless Shimmer
The technique you use to apply the glitter depends entirely on the finish you are trying to achieve—from a light, ethereal sheen to a heavy, dazzling coat.
1. The Wet Method: For Concentrated, Opaque Shine
When you want the glitter or luster dust to look like paint—fully opaque with a rich shimmer—you must mix it with a liquid medium.
- The Medium: The best medium is clear, high-proof alcohol (like vodka or white rum) or clear extract (like lemon extract). Why alcohol? Because it evaporates almost instantly, leaving behind a perfectly dry layer of glittering pigment without dissolving the underlying frosting or fondant.
- Method: Mix a small amount of dust with a few drops of alcohol until a thick, paintable consistency is reached. Use a clean, soft brush to paint directly onto hardened surfaces like fondant, gum paste accents, or dried royal icing.
2. The Dry Dusting Method: For Soft, Subtle Glow
This technique is best for adding a gentle sheen over buttercream or fondant.
- Method: Load a large, clean, fluffy makeup brush (dedicated for baking only) with dry luster dust. Hold the brush a few inches away from the cake and gently tap the handle, allowing a fine mist of the dust to settle onto the surface. This creates an even, subtle glow that catches the light beautifully.
3. The Spray Method: For All-Over Dazzle
For covering an entire cake quickly, invest in a dedicated edible glitter pump or airbrush system.
- Pump: A simple, hand-held pump loaded with dry edible glitter allows you to direct a concentrated blast of sparkle onto specific areas of the cake, creating a dense, all-over coverage that looks incredibly festive.
Design Integrity: Balancing Sparkle and Flavor
A superb cake maintains balance. While the glitter is stunning, it should enhance the cake’s flavor and overall design, not hide its faults.
1. Strategic Placement
Instead of coating everything, use glitter strategically to highlight design elements:
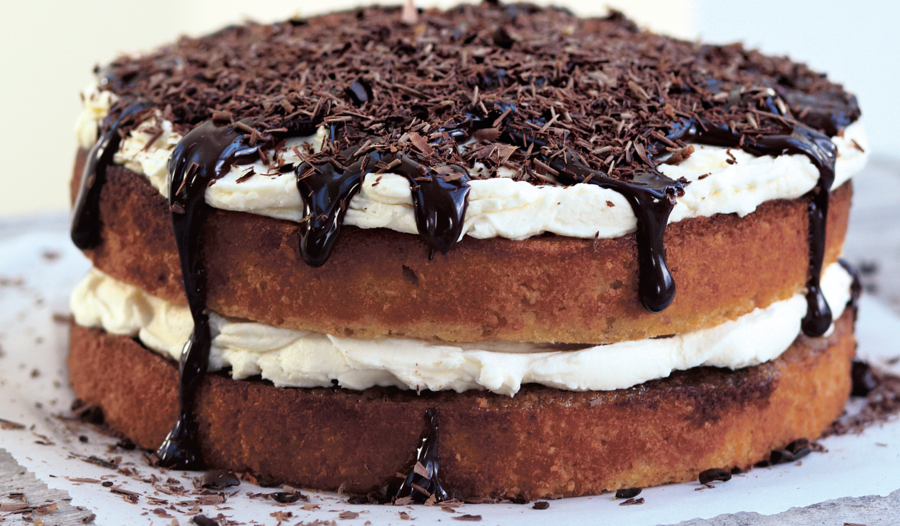
- Dripping Glaze: Mix luster dust directly into a clear glaze (like a simple sugar glaze or white chocolate ganache) before pouring it. The glaze drips will set with a dazzling, metallic finish.
- Floral Accents: Paint only the edges or the centers of fondant flowers to make them look wet with dew or gilded with gold.
- Text or Stencils: Use the wet method with a fine-tipped brush to paint shimmering text or stenciled patterns directly onto a smooth fondant surface.
2. The Icing Foundation
Edible glitter adheres best to surfaces that are slightly sticky or fully dried and firm.
- Buttercream: Apply dry glitter or dust immediately after frosting the cake, while the buttercream is still soft, or after the buttercream has developed a light crust (crusting buttercream) but before it has fully hardened.
- Fondant: Fondant and gum paste are ideal canvases for glitter, as they are firm and smooth, allowing for precision application.
Conclusion: Making Every Slice Shine
The addition of edible glitter is the final, brilliant stroke that transforms a technically good cake into a memorable, superb creation. It’s an easy-to-use tool that unlocks a new level of elegance and excitement in your baking. By understanding the different types of edible sparkle, mastering the dry and wet application techniques, and using glitter strategically to enhance your design, you can ensure that your next cake will not only taste incredible but will literally dazzle every guest, proving that truly superb baking engages all the senses.
Would you like instructions on how to make edible gold paint using luster dust and alcohol for fine details?