The perfect pie is a delicate balance of textures, and its success hinges entirely on the integrity of the crust. Nothing deflates a baker’s confidence faster than a beautiful pie ruined by a soggy, undercooked bottom. This structural failure often occurs when preparing custard, quiche, or fresh fruit pies, where the filling is either liquid or unbaked. The solution is blind baking, the essential technique of partially or fully baking the crust before adding the filling.
While the concept is simple, the execution requires precision to prevent the crust from shrinking, slumping, or puffing up uncontrollably. Mastering blind baking involves understanding the crucial steps, utilizing the right tools, and implementing strategies that guarantee a crisp, golden-brown foundation every single time. This guide outlines the foolproof methods and expert tips to banish the dreaded soggy bottom forever.
I. The Necessity of Prep: Chilling and Shaping
Before the dough even sees the oven, proper preparation is key to maintaining its structure and achieving a crisp texture.
1. The Power of Cold
The most common cause of crust shrinkage is warm dough. The butter in the dough must be ice-cold when it enters the oven. When cold butter hits high heat, it releases steam, creating those desirable flaky layers. If the butter is soft, it simply melts and the dough collapses.
- Strategy: After placing the rolled dough into the pie plate, trim the edges and crimp them immediately. Then, chill the shaped crust for at least 30 minutes in the refrigerator, or 15 minutes in the freezer. This firms up the butter and allows the gluten to relax, minimizing shrinkage during baking.
2. Structural Support: The Importance of Overhang
For a delicate edge, always leave a slight overhang when trimming the dough. If the edges shrink (which they will), the overhang provides a buffer, preventing the dough from slipping down the sides of the plate and leaving an unfinished look. You can trim and crimp the final edge after the initial blind bake.
II. Essential Tools: Weighing Down the Dough
During baking, the fat in the pie dough melts, and steam is released, causing the dough to puff up like a pillow—creating air pockets where a filling should go. To prevent this, you must weigh the dough down.
1. Pie Weights (The Traditional Choice)
These reusable ceramic or metal beads are specifically designed to distribute weight evenly.
- Method: Line the chilled crust with a piece of parchment paper or aluminum foil, pressing it gently against the bottom and sides. Fill the entire crust cavity up to the rim with the pie weights. This pressure holds the dough in place, preventing the sides from slumping and the bottom from puffing.
2. Dried Beans or Rice (The Pantry Substitute)
If you don’t own pie weights, dried beans, rice, or even pennies make excellent substitutes.
- Method: Use the same parchment lining method. Fill the crust completely with the dried substitute. Ensure you keep these designated “baking beans” in a separate container, as they become dehydrated and should not be cooked for consumption afterward.
3. The Blind Baking Strategy: Pricking the Dough
If you are only partially blind baking (for fillings that require further baking, like pumpkin pie), some bakers prefer to skip the weights and simply prick the dough all over with a fork (docking). Caution: While this works for partial baking, it won’t prevent the sides from slumping, and it may not fully prevent all puffing. For a superior crust, always use weights.
III. The Execution: Timing and Temperature Control
The actual baking process varies depending on whether you need a partially baked or fully baked crust.
1. The Partial Bake (For Custards and Quiches)
This is necessary when the filling still requires substantial time in the oven. The goal is to set the dough structure and dry out the bottom without over-browning.
- Bake with Weights: Bake the weighted crust at a high temperature (around 400°F / 200°C) for 15 minutes.
- Remove Weights: Carefully remove the weights and the parchment paper liner.
- Finish: Return the crust to the oven for another 5–10 minutes. This final step allows the bottom of the crust, now exposed, to dry out and slightly brown. The crust should look matte and golden but not deeply browned.
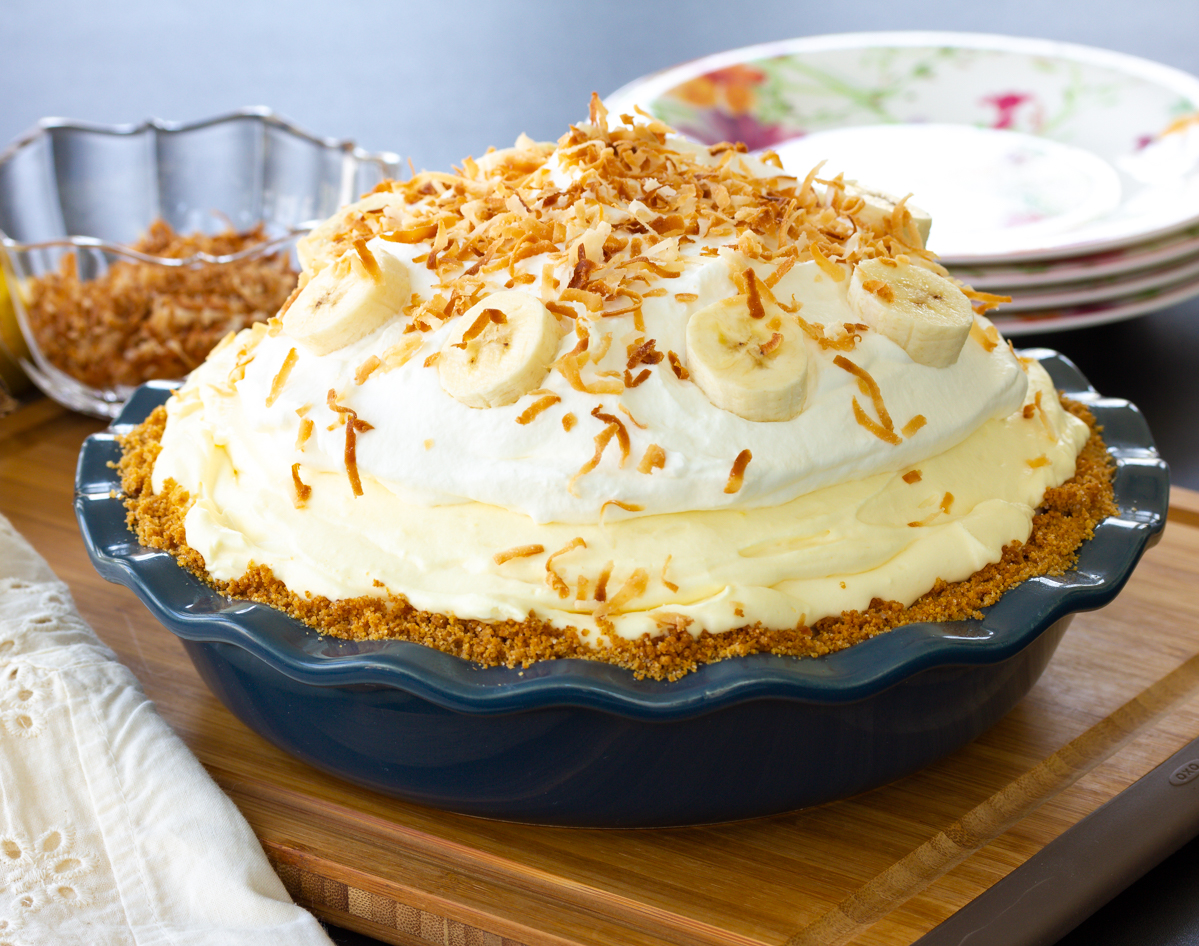
2. The Full Bake (For Cream and Cold Fillings)
This is required for pies with cold or no-bake fillings (like chocolate cream or banana cream pie). The crust must be fully cooked and browned.
- Process: Follow the partial bake steps (15 minutes with weights, 5–10 minutes without).
- Continued Baking: Continue baking the empty crust for an additional 5–10 minutes until the bottom is uniformly golden brown and completely dry. If the edges start browning too quickly, cover them loosely with aluminum foil strips.
Conclusion: Crispy Confidence Every Time
Blind baking is the difference between an amateur attempt and a professional-grade pie. By integrating the simple strategies of chilling the shaped dough, using the weight of pie weights or beans to prevent structural collapse, and controlling the baking time based on your final filling, you eliminate the risk of a soggy bottom. Master these techniques, and you will consistently achieve a perfectly crisp, flaky, and golden-brown foundation—the true mark of a superb homemade pie.
Would you like a recipe for a versatile all-butter pie dough that holds its structure perfectly for blind baking?